It’s usually ![]() around this time of the year when most of us free up some time to create or even review our learning resources for the new academic year. I know a lot of staff at Edge Hill are really starting to move away from standard PowerPoint based materials and producing some really engaging resources by embedding multimedia into materials developed on the following:
around this time of the year when most of us free up some time to create or even review our learning resources for the new academic year. I know a lot of staff at Edge Hill are really starting to move away from standard PowerPoint based materials and producing some really engaging resources by embedding multimedia into materials developed on the following:
- Microsoft PowerPoint
- iSpring
- Microsoft Office Mix
- Campus Pack (Podcasts)
Maybe some of you are considering trying one of these technologies (though I hope everyone uses PowerPoint as standard). Let’s face it, all we need to do is take a look around our amazing campus and witness the wide adoption of mobile devices over the recent years. With the use of mobile learning in mind, we need to understand that today’s learners will not solely consume content through the PC/Mac desktop environment. At some point, we all have to break out of our usual practices and look for an effective alternative to create rich engaging and mobile friendly materials for our modules and programmes.
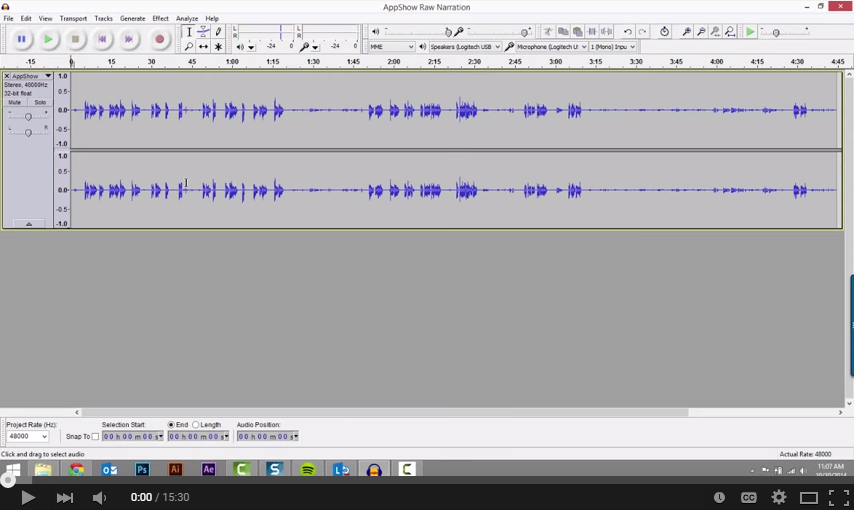
So for those who are looking to take that first small step maybe consider introducing audio narration tracks to your current PowerPoint files. Audio narration can be used across all of the technologies I mentioned previously. It’ll offer you the opportunity to embed audio narration tracks to your resources by recording directly into whatever platform you wish (PowerPoint, iSpring, Podcasts etc.). For this post, I’m focussing on a video (see below) which details a specific process developed by Josh Holnagel (Instructional Designer, Techsmith). This process demonstrates how you can edit and polish a pre-recorded audio file within Audacity (an open-source audio editor). Audacity can be found on all PCs on campus and is freely available to download here. http://audacityteam.org/download/
You may want to record your audio narration first with an USB microphone, your smartphone or even your tablet. Take the recorded file and load it straight into Audacity and give this tutorial a go. The workflow shown is a series of small techniques, tips that Josh has developed from his own experience.
 For those experienced users of Audacity, a detailed table of contents follows below so you can see what‘s covered in this video.
Table of Contents
0:00 Intro
0:50 How to change the Audacity project rate
1:15 How to split a stereo track to mono
1:30 How to find and copy white noise
2:15 How to make a new track
2:25 How to paste white noise end-to-end
3:30 How to use white noise throughout a track
5:22 How to paste white noise over existing audio
6:40 How to eliminate breaths and mouth clicks
8:53 How to quiet noises in between words
10:24 How to use the Amplify effect in Audacity
10:46 How to repeat an effect
11:27 How to adjust the volume of words or phrases
13:13 How to reduce or remove white noise
14:47 How to export audio from Audacity
15:10 Outro
Below are some great guides and links on some of the technologies you can insert audio narrations into. Why not have a glance at any that appeal to you, feel free to contact your faculty LTDO if you need to know more!
- Campus Pack Podcast Tool – http://www.eshare.edgehill.ac.uk/1671/
- Adding Audio to iSpring – http://www.eshare.edgehill.ac.uk/5279/
- Podcast skills + Audacity Quick Guide – http://www.eshare.edgehill.ac.uk/1662/
- Add Audio Narration to Microsoft PowerPoint Slides – http://tinyurl.com/nhh4tpe

